Saturday, December 24, 2011

Happy Birthday Jesus!!

For the last several years we have had a Birthday party for Jesus in some form or fashion, sometimes as a church children's party, with a few friends, or just as a family.  This year we decided to invite a few friends over and celebrate in typical birthday fashion, Balloons, Punch and Cake!!

We started by telling the kids, what the Bible says about Jesus's birth. My dearest friend Shannon did an amazing job!!
 The kids each added the character they were given as it came up in the story.
 Mrs. Shannon was talking about how stinky the stable must have been.. Brennan thought that was funny.
 Afterwards we sang, "Happy Birthday to Jesus" and shared some punch and cupcakes! The kids had so much fun and I love the happiness and joy that was shared during these couple of hours. I know Jesus was laughing and smiling along with us!

Afterwards we had some crafting fun and made our party favors!  Check out the How-To on this Hand Print Snowman Ornament.
Families that wanted to were also asked to bring an unwrapped toy to go to a local charity, as Birthday gifts to Jesus!  Tis better to give than to receive!

Does your family have a Birthday Party for Jesus?  How do you celebrate Jesus's Birthday?

Friday, December 23, 2011

Christmas Morning 2011

Each year we spend most of our Christmas Holiday Traveling to see Grandparents, Grandparents, and more Grandparents!  And we LOVE it!  I love the memories and bonds that are made by spending time with Grandparents, Aunts, Uncles, and sweet cousins! Because of our excessive traveling, we always have Christmas the weekend before we leave, which usually also means the weekend before Calendar Christmas. We get to have a small intimate Christmas with our boys and we don't have to worry about hiding presents or hauling presents all over Texas. 
  This year December 18th was the big day.  We set out cookies, for Santa and headed to bed. (Yes, this works...by the time they begin to question our Christmas timing they will probably also begin to question Santa in general)

 Good morning!! William tried to get up at 3:00 am, but was sent back to bed.... at 6:24, He revisited the idea of getting up... and we obliged. Santa brought the boys a new tent, and sleeping bags! We can't wait to try them out in a few months.
 The boys dumping their stockings.
 Cade got a new Star Wars Leapster Explorer Game... and everyone loved it! They sat in this huddle for at least 10 minutes.
 William was so happy to get this shirt!  We are a little Star Wars obsessed around here!
We had a wonderful day!  Now we are gearing up for a week long trip around Texas!  Waco, Dallas, Muleshoe... Ready or Not here we come!!

Thursday, December 22, 2011

Christmas Tree Topper: A Family Tradition

Growing up I remember several tree toppers.  A garland star with a multitude of colored twinkle lights, and  a glowing angel with really bad hair top the list of tree toppers that came through our home at Christmas.  Don't get me wrong, I loved our tree and looked forward to putting it up each year. However, the first year I had my own tree I couldn't wait to top it with a beautiful bow or bouquet of gorgeous feathers... but to my surprise what I got instead was so much better than I could ever imagine.  As Michael and I decorated our first tree I mentioned going to get our tree topper a little later in the day, while we did some Christmas shopping.  Michael looked at me in great disappointment and confusion and said, "No, I'll be making the star!"  Uhhhmmm ok.. I thought.  Then he began to gather supplies; which included cardboard, aluminum foil, and wire.... I know you are now thinking what I was... Seriously!  We have this beautiful tree and there is no way we are putting some sort of kindergarten aluminum foil craft on top of it! 


Well, 9 Christmas's later that same beautiful star graces our tree each year.  I love it and I love that Michael's parents have an aluminum foil star and one day maybe our boys will be making aluminum foil stars for their first Christmas with their new bride. This foil star has come to be one of the prized possessions in our Christmas boxes because of the simplicity and sense of family tradition that it holds.  

What tops your tree?  Does it have any special meaning?  

Wednesday, December 21, 2011

Monkey Bread :Recipe

Monkey Bread was another one of those dishes that I was introduced to when I married into the Caldwell family.  It is a dish, you can pretty much bet on every time the family joins together, and it is also one of my honey's all time favorites!  Super simple and a great breakfast when guest are coming!! The smell of sticky rolls and fresh coffee wafting through the house first thing in the morning.... Holiday guests will wake up smiling and ready to join you in the kitchen!


 *We usually serve ours with Cheesy Scrambled Eggs & Bacon.

Monkey Bread
  • 4 pack of  Pop n Fresh buttermilk biscuits
  • 1 pkg. Cook & Serve Butterscotch pudding
  • 1 c brown sugar
  • 2 sticks butter, melted
Directions
  1. Preheat oven to 350 degrees.
  2. Combine pudding mix and brown sugar in a small mixing bowl. Whisk together with a fork to break up any clumps. Set aside.
  3. Melt butter in a microwave safe bowl, place aside. 
  4. Cut biscuits into quarters (kitchen shears make this job a snap); place loosely in a lightly greased 9x13 baking dish.
  5. Pour pudding mixture evenly over biscuits.

6. Pour butter over biscuits


7.Bake for 30-35 minutes, until bubbly and edges are golden brown.
8. Allow to cool for 5 minutes, break up pieces with a serving spoon and serve!


Tuesday, December 20, 2011

Snowman Hand print Ornament

I love simple crafts and little hands!  Which is probably why I love this Christmas Craft so much!!


1. Gather your supplies!
  • medium-large shatterproof ball ornaments 1/child, green, blue, or red work best.
  • white craft paint, make sure it's washable
  • black, orange, and silver fine tip permanent marker
  • coordinating ribbon
  • paper plate
  • 1 inch paintbrush
2. Tie one ribbon through each ornament  to use as a hanger on the tree.
3.  Pour an ample amount of paint onto the paper plate. This makes for easy cleanup!
4. One at a time, ask children to hold the palm of their hands open wide and brush with an generous amount of white paint.
5. Place a single ornament in child's hand and have them grab the ornament and release...
6. Have child wash hands while you write a name and year on the ornament opposite the hand print.

7 Hang by ribbon to dry or place paint side up in the package to dry.
8. Repeat with each child until all hand prints have been made.
9. Once ornaments are dry, instruct children to draw faces, arms, scarves, or hats on each finger making them into snowmen.  You may want to do this part for the smaller children.

10. Hang on Christmas tree and enjoy for years to come!

This makes a great class project, party craft,  or homemade gift for grandparents!  Have fun!!

Monday, December 19, 2011

Ornamental Christmas Fun: A Family Tradition

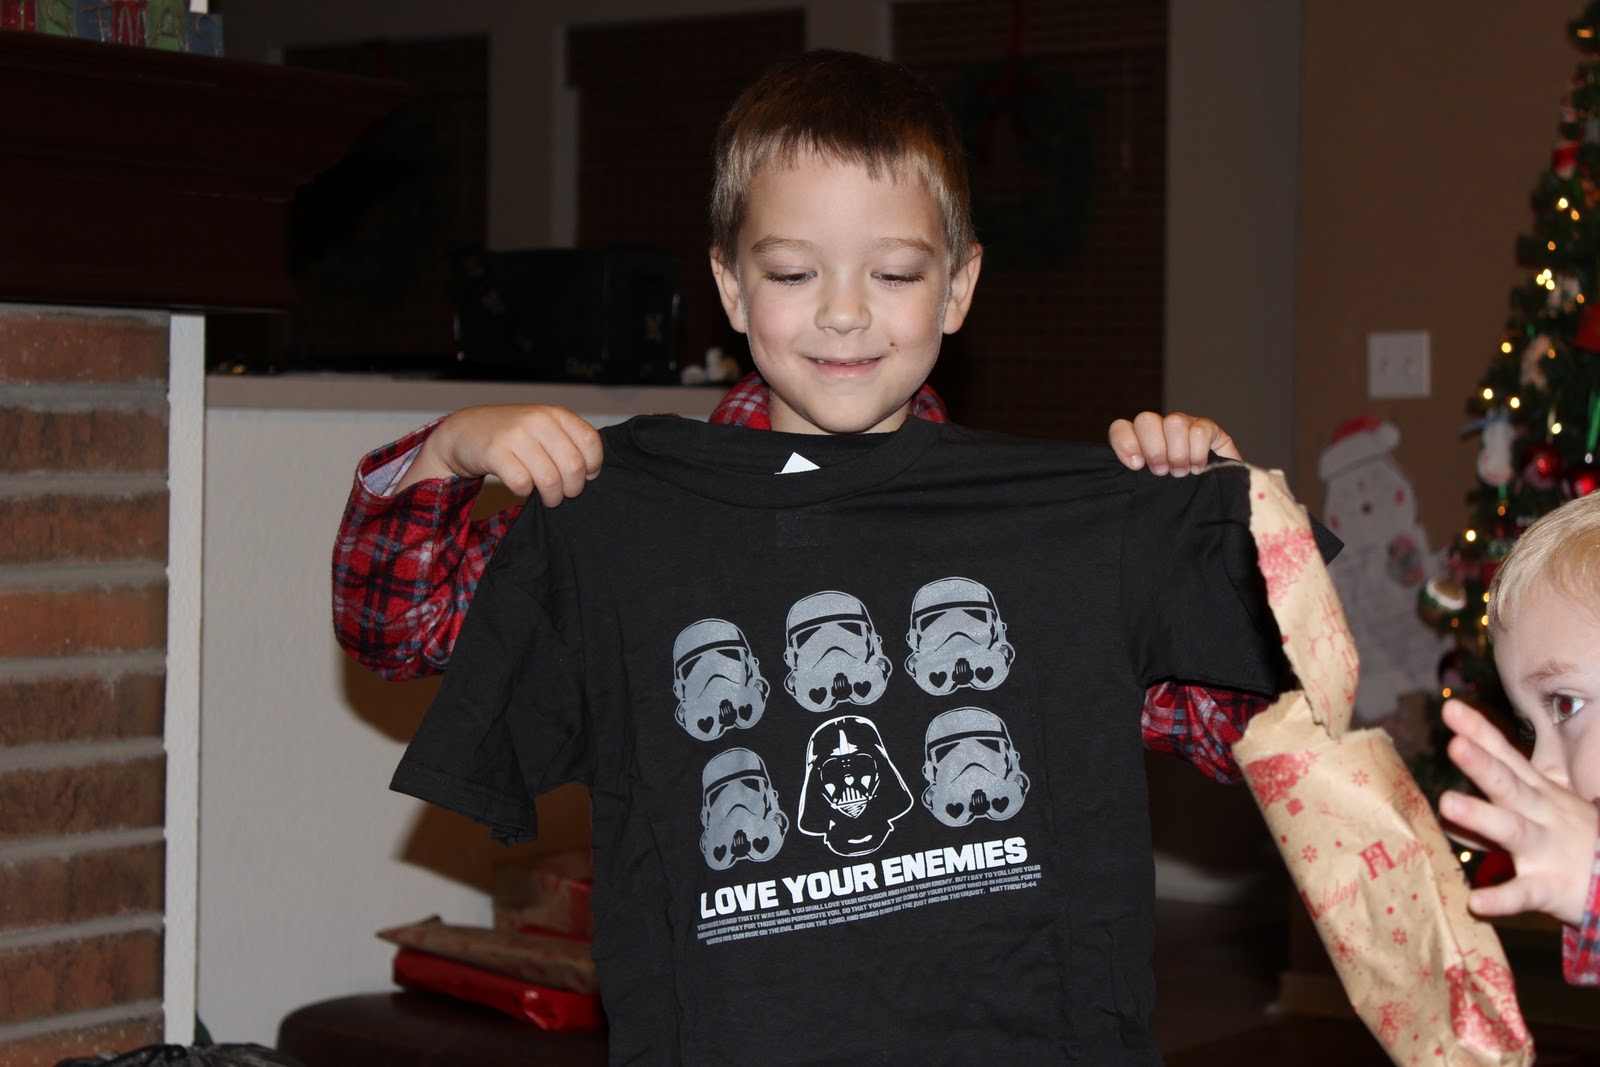
Last week I mentioned that we have several Family Traditions that we look forward to during the Christmas Season.  One that we all look forward to is... The Great Ornament Hunt.

William's letter tube.  We keep all their letters from years past in this tube! I loved looking back at the letters and pictures that have been shared through the years.

Our Christmas tree is not one you would see in a catalog. It's not color coordinated and beautified with feathers, ribbon, and vintage glass ornaments.  No, our tree is actually a bit random. I would describe it as a misfit tree... definitely a personality of it's own... with each characteristic being special and unique. 

Some trees are beautiful but after you have looked at them for 2 minutes you have seen everything there is to see, not our tree.  No, our tree is one you can look at for an entire month and still see something new and special each day.  It's a tree that hold so many memories on it's fake polyester branches that I get sentimental goose bumps each time I pass by.

Each year our tree gets a new set of ornaments. They don't replace the old  but to add to the story they tell.  The funny memories they represent, the happiness that is felt on the night each ornament is hand picked and carefully carried home and added to the collection of memories that already find refuge in it's branches.

Cade's choice this year... He is our animal lover!
One evening during the Christmas season, the whole family piles in the car, and we head to dinner.  After dinner the hunt is on.  We usually hit one or two stores that have a mass variety of ornaments and each person grabs up an ornament of their choice.  Sometimes it represents a milestone hit that year, or a developing interest; and then again sometimes it's totally random and we all get a good laugh!


Brennan likes the sparkle ornaments.


Wreck'em Tech... Michael's pick.


This is as close to vintage as we get... ornaments from Michael's Kindergarten school crafts 1985, and my Kindergarten school craft 1987.


Some of my Favorites!!
  
 Because without the cross, you can't really appreciate the true meaning of Christmas. (Stained glass cross made by my parents preacher... gifted to me by my father.
 Christmas Nail gifted by my sweet sister-in-love, Kristi)  I love that after all the fun and laughs that come with each ornament, with just a few small mementos we are reminded of the glory and joy that brings this holiday to our life. Merry Christmas to you all!  May your traditions bring you joy and goodwill as you focus your family on the wonderful miracle of Christ's Birth!


Saturday, December 17, 2011

Easiest Gingerbread Cookies for the Holidays

 Nothing gets my boys smiling more during the holidays than the thought of all those holiday treats... cake, cookies, and candy.  I'm pretty sure they are the kids "all snug in their bed, while visions of sugar plums dance in their head!" We actually spend a good bit of our time during the holiday break in the kitchen, baking and having fun together in the kitchen; which is funny because I don't really like to bake. There is just something about the holidays that gets me geared up for sweet kitchen projects.
 This year one of our first project was iced gingerbread cookies.  I would love to share this wonderfully delicious recipe with you!  It sounds so delicious But I can't say that I used it myself... I really don't like baking... all that measuring and mixing and measuring... well it just wears me out!  However, my best friend the Pillsbury Dough Boy has made my love-hate relationship with baking a little bit nicer this year with...Dum Da Dumm!!  Gingerbread Cookie Dough!!!  Pre-heat your oven, roll it out, grab some cookie cutters, and get ready for some messy fun with icing!  It's a snap, not to be confused with a ginger snap... (lame attempt for a joke)!
 And you so know they make tubs of icing too right! :) ha ha.  Ziploc bags with the corner tip cut off make a great icing bag for kids, and when your finished... toss it!  

Tell me this isn't the most beautiful Christmas tree cookie you have ever seen! 
The critics agree.... They were delicious! & Fun to make!


Do you bake with your kids during the holidays?  What are some of your favorites?

Wednesday, December 14, 2011

Red Velvet Cake Balls

Wow!! I can't believe it has been almost 2 weeks since my last post on this poor sweet neglected blog... I apologize to all you faithful readers that have anxiously been waiting for more fun stuff, great recipes, and more of my ridiculous stories. :)  But I promise I have some great things coming your way!  Last minute gifts, home baked goodies, and fun crafts to fill up those days your family is stuck inside due to the cold (Not that i know anything about that... cold weather that is). 

So to start off the holiday goodness... here is a recipe I know you will love!


Red Velvet Cake Balls

Ingredients
  • 1 red velvet box cake mix
  • 1 container of cream cheese icing
  • 3 packs vanilla almond bark cubes
  • Recommended Toppings: Drizzle with melted Chocolate, red sprinkles, sugar crystals, or lightly dust with cake crumbles.
Directions
    1. Prepare the cake mix according to package directions using any of the recommended pan sizes. When cake is done, crumble while warm into a large bowl, and stir in the frosting until well blended.
    2. Place mix in refrigerator for 20 minutes
    3. Using a melon baller, or small cookie scoop, form mixture into balls.
    4. Melt almond bark one package at a time in a glass bowl in the microwave(according to pkg. directions) , or in a metal bowl over a pan of simmering water, stirring occasionally until smooth.
    5. Using a toothpick or fork, dip the balls in chocolate.  Place on waxed paper to set.
    6. While coating is still "wet"  sprinkle on recommended toppings. 
    7. Allow balls to set and store in an airtight container. Refrigerate for up to two weeks.

Packaging:
Cardboard Egg Cartons (cut in half)
cellophane wrap
mini muffin liners
curly ribbon
name tags

These make lovely teacher gifts, great to leave on a neighbors doorstep, or fill a platter to serve at your next Christmas Party.